
Can I replace a kitchen sink myself? Yes, you can replace a kitchen sink yourself if you have basic plumbing skills and the right tools. This guide walks you through the entire process, making it much easier than you might think.
Replacing an old kitchen sink can refresh your kitchen’s look and improve its function. Whether you are switching from a drop-in model to an undermount style, or simply installing a new sink basin, preparation is key. This job involves plumbing, sealing, and careful handling of your countertop. Follow these steps closely for a smooth replacement.
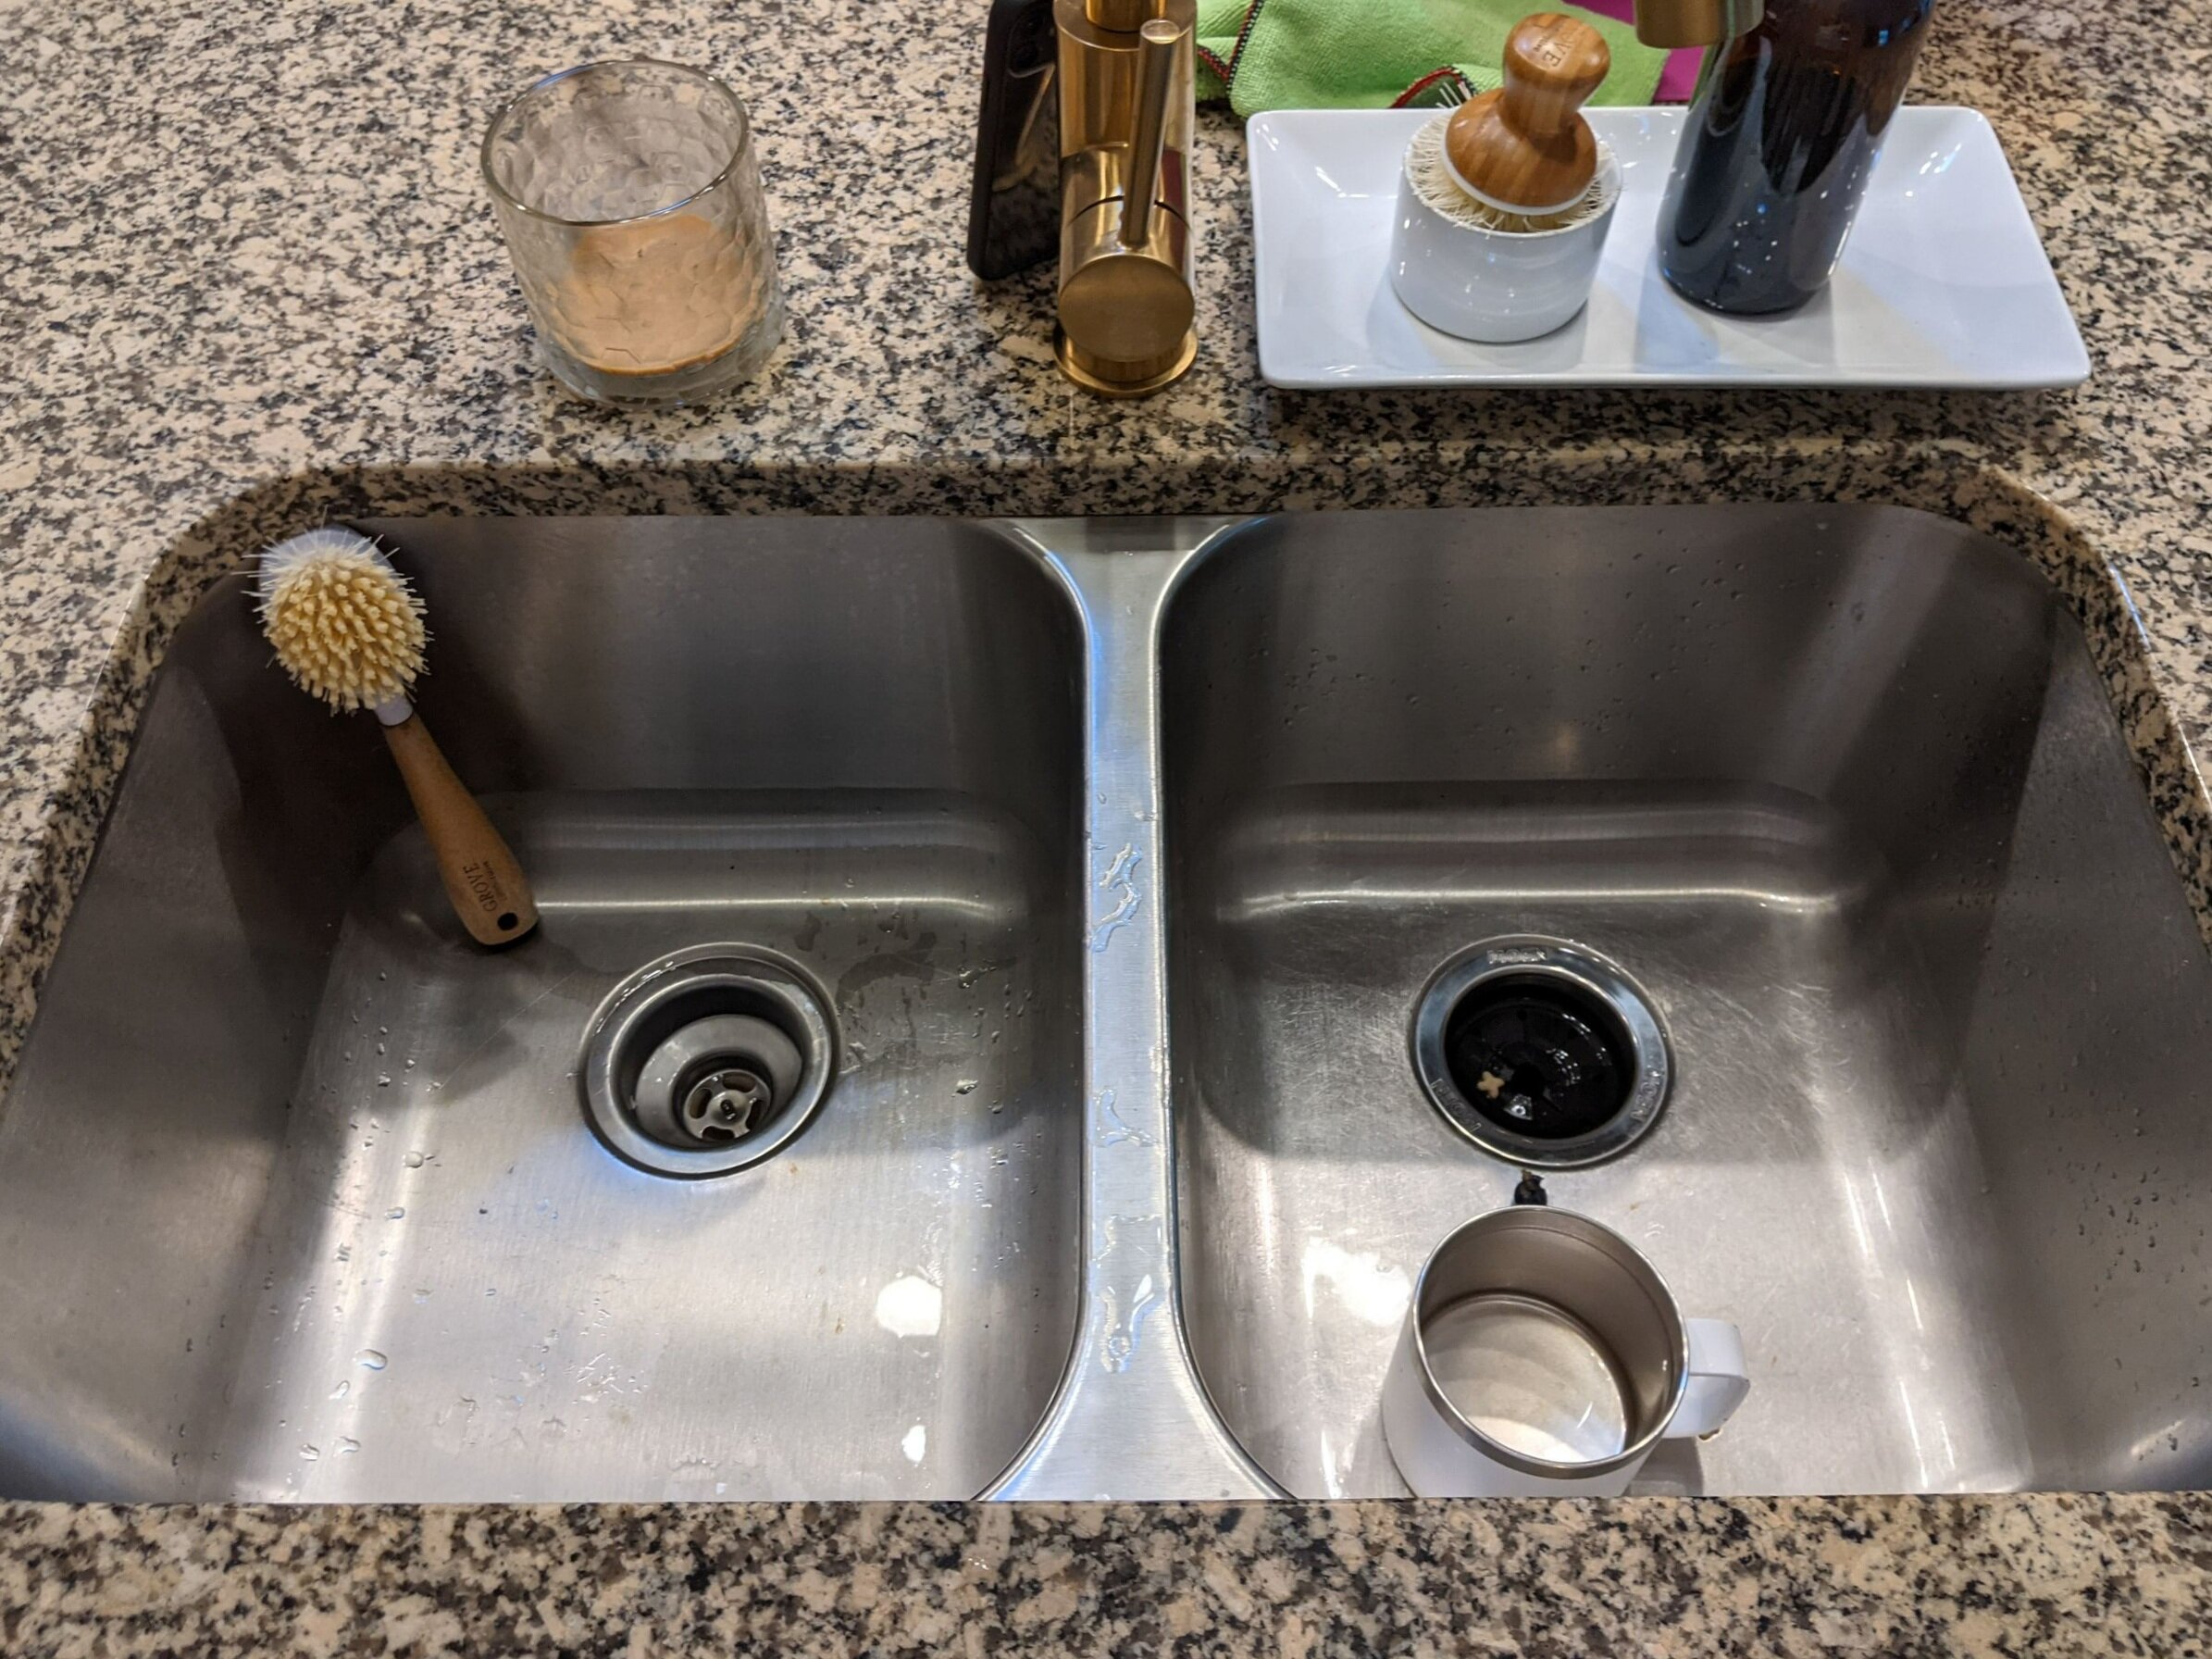
Image Source: images.squarespace-cdn.com
Phase 1: Preparation and Gathering Supplies
Before touching any pipes or touching the old sink, you need to get ready. Good preparation saves time and stops leaks later on.
Essential Tools and Materials Checklist
Gather everything before you start the removal process. Having the right tools makes the job much quicker.
| Tool/Material | Purpose |
|---|---|
| Safety Glasses and Gloves | To protect your eyes and hands. |
| Adjustable Wrench & Basin Wrench | For tightening and loosening nuts on plumbing fixtures. |
| Putty Knife or Utility Knife | To cut old caulk and sealant. |
| Screwdriver Set | For removing mounting clips or garbage disposal screws. |
| Pliers (Channel Locks) | For gripping pipes and fittings. |
| Bucket and Rags | To catch water when disconnecting lines. |
| Plumber’s Putty or Silicone | To create a watertight seal. |
| New Sink and Faucet | The replacement fixtures. |
| Towels | For cleanup. |
Measuring for Your New Sink
If you have already purchased a new sink, great! If not, measuring is critical.
For a replacing drop-in sink, you must measure the existing hole in your countertop. The new sink lip must overlap the existing hole enough to support it securely. Usually, the new sink’s outer dimensions should be slightly larger than the existing cutout.
For an undermount sink installation guide, the process is different. The sink mounts beneath the counter. You must confirm that the countertop material (granite, quartz, etc.) is suitable for undermount installation. The countertop cutout for kitchen sink must match the new sink’s flange dimensions precisely. Always check the sink manufacturer’s template if one is provided.
Phase 2: Disconnecting the Old Sink Fixtures
This is where the hands-on work begins. Turn off the water first!
Shutting Off Water Supply
Locate the shut-off valves beneath the sink cabinet. These control the hot and cold water lines running to your faucet.
- Turn both valves clockwise until they stop. This shuts off the water.
- Turn on the old faucet handles to relieve any built-up pressure in the lines. Let the water drain out.
- Place a small bucket under the supply lines to catch drips.
Removing the Old Faucet and Sprayer
If you are keeping the old faucet, skip this part. But if you plan to install new kitchen faucet later, you must remove the old one now.
- Use a basin wrench or adjustable wrench to loosen the supply line nuts connecting the faucet tailpieces to the shut-off valves.
- Look underneath the sink basin. Faucets are often held in place by mounting nuts or screws. Use your basin wrench to reach up and loosen these fittings.
- Once the nuts are off, lift the old faucet assembly out from the top of the sink.
Disconnecting the Garbage Disposal
You must disconnect garbage disposal before removing the sink basin, as it is usually attached directly to the sink drain opening.
- Unplug the disposal. If it plugs into an outlet, pull the plug. If it is hardwired, you must turn off the power to that circuit at your main breaker box first.
- Identify the drainpipe connected to the side of the disposal unit. Use pliers or a wrench to loosen the slip joint connection holding this pipe in place. Have your bucket ready for residual water.
- Locate the mounting ring that secures the disposal to the sink flange. This usually involves turning a locking ring counter-clockwise or loosening three mounting screws.
- Once loose, gently lower the disposal unit down and set it aside. It is heavy.
Detaching the Sink Drain Assembly
The drain connects the sink bowl to the P-trap (the U-shaped pipe).
- Use channel-lock pliers to loosen the slip nuts on the P-trap assembly. Disassemble the trap piece by piece.
- You might need to unscrew the drain flange basket from the underside of the sink. Sometimes these are glued in place, requiring careful twisting with pliers.
Phase 3: Removing the Old Kitchen Sink Basin
With all plumbing disconnected, you can now focus on freeing the sink basin itself. This step differs based on whether you are replacing drop-in sink or an undermount model.
Detaching Clips and Sealant
Most sinks are held in place by clips and a perimeter seal.
- Locate Mounting Clips: Look underneath the rim of the sink where it meets the countertop. You will see several metal clips screwed into the underside of the counter material. Use a screwdriver to loosen or remove these clips entirely.
- Cut the Sealant: Around the entire edge of the sink where it touches the counter, there will be a bead of caulk or silicone sealant for kitchen sink installation. Use a sharp putty knife or utility knife to carefully slice through this sealant line. Keep the knife angled toward the sink to avoid scratching the countertop.
- Free the Sink: Once the clips are off and the sealant is cut, the remove old kitchen sink basin process begins.
Lifting Out the Old Sink
This step often requires two people, especially for large stainless steel or cast iron sinks.
- Gently try to push up on the sink from underneath. If it doesn’t move, check again for any missed clips or sealant spots.
- Lift the sink straight up and out of the countertop opening. Be careful not to scrape the counter surface with the rough underside of the old sink.
- Immediately clean the countertop opening. Scrape off any remaining old caulk or putty residue using the putty knife. A clean, dry surface is vital for a good seal on the new sink.
Phase 4: Preparing the New Sink and Faucet
It is much easier to attach the new faucet and drain components to the new sink before you place it into the countertop opening.
Pre-Installing the Faucet
If you plan to install new kitchen faucet, do this now.
- Place the new sink upside-down on a protected surface (like a blanket or cardboard).
- Follow the manufacturer’s directions to mount the new faucet assembly. This usually involves feeding the water lines and faucet shanks through the holes in the sink deck.
- From underneath, secure the faucet using the provided mounting hardware (washers and nuts). Hand-tighten these first, then use a basin wrench for a final snug fit. Do not overtighten, especially on porcelain sinks.
Preparing the Drain Strainer and Flange
This applies to both drop-in and undermount sinks. You need to attach the basket strainer assembly.
- Apply a generous rope of plumber’s putty around the underside rim of the sink strainer flange (the part that sits inside the sink bowl).
- Press the flange firmly into the drain hole from the top of the sink. Wipe away any excess putty that squeezes out immediately.
- From underneath, slide on the friction washer, the backup ring, and then screw on the locknut. Tighten this firmly with pliers or a wrench to compress the putty and create a watertight seal.
Pre-Installing the Garbage Disposal Mount (If Applicable)
If you are reusing or installing a disposal, attach its mounting ring assembly to the new sink drain flange now, following the disposal manufacturer’s instructions.
Phase 5: Installing the New Sink Basin
The method here depends heavily on your sink type.
Installing a Drop-In (Top-Mount) Sink
This is generally the simpler replacement.
- Apply a thick, continuous bead of silicone sealant for sink installation around the entire underside of the new sink’s rim. This sealant prevents water from dripping beneath the counter.
- Carefully lift the sink (with the faucet and strainer partially installed) and gently lower it into the countertop cutout for kitchen sink.
- Ensure the sink is perfectly aligned and centered in the opening. Press down firmly around the entire perimeter to squeeze out the excess silicone sealant.
- Install the mounting clips underneath the sink rim, tightening them securely against the countertop edge. You are aiming for firm contact, not crushing the sink or counter.
- Wipe away any silicone that squeezed out onto the countertop surface immediately using a rag dampened with mineral spirits or water, depending on the sealant type. Let the silicone cure according to the product instructions (usually 12-24 hours) before heavy use.
Considerations for Undermount Sink Installation Guide
An undermount sink installation guide requires different support structures because there is no lip resting on the counter.
- Adhesive and Support: After cleaning the underside of the counter and the sink flange, apply a strong epoxy or silicone sealant to both surfaces.
- Clamping: The sink must be held firmly against the counter underside while the adhesive cures. This often requires specialized clips, brackets, or temporary support braces positioned across the cabinet opening.
- Curing Time: Undermount sinks require significant curing time—often 24 to 48 hours—before you can reconnect the plumbing connections for kitchen sink.
Phase 6: Reconnecting the Plumbing
Once the sink is securely set and the sealant has cured (if necessary), it is time to put the pipes back together. Reviewing a kitchen sink plumbing diagram can help verify correct alignment.
Reattaching the P-Trap and Drain Lines
- Carefully align the sink drain tailpiece (from the strainer basket) with the P-trap assembly below.
- Hand-tighten the slip nuts onto the threads.
- Use channel locks to give the nuts a final quarter-turn. They should be snug but not so tight that you crack plastic fittings.
Reconnecting the Garbage Disposal
If you removed and reinstalled a disposal:
- Lift the disposal unit back onto its mounting ring attached to the new sink flange.
- Twist the locking ring clockwise until the disposal is firmly secured and cannot rotate.
- Reconnect the discharge pipe leading from the disposal outlet to the main drain line using the slip nuts.
Finalizing the Water Supply Lines
- Attach the flexible supply lines from the new faucet tailpieces to the shut-off valves below.
- Use your adjustable wrench to tighten the connections securely. Again, snug, but do not force them.
Phase 7: Testing and Final Checks
This is the most important step to avoid leaks!
Testing for Leaks
- Ensure the faucet handles are in the “off” position.
- Slowly turn the hot and cold water shut-off valves back on (counter-clockwise).
- Visually inspect all connections for drips. If you see a leak at a supply line connection, gently tighten the nut a little more.
- Turn the faucet on (both hot and cold) and let the water run for several minutes. This allows air to escape the lines.
- While the water is running, carefully inspect every connection point underneath the sink, including the drain lines, disposal mounts, and supply lines.
- To test the drain seals, plug the sink, fill it halfway with water, and then quickly pull the plug. Watch the P-trap and drain connections as the water rushes out. Check carefully for drips around the drain flange seal (where the putty is).
If you notice any persistent drips at the drain connections, you may need to slightly tighten the associated slip nut or remove the connection, add a new piece of plumber’s tape (Teflon tape) to the threads, and reassemble.
Final Curing Time
If you used silicone sealant to secure the sink to the countertop, resist the urge to wash dishes or put heavy objects in the sink for the time recommended by the sealant manufacturer. Allowing the silicone sealant for kitchen sink installation to fully cure ensures a strong, long-lasting, watertight bond.
Frequently Asked Questions (FAQ)
Q: Do I need to seal the flange on an undermount sink?
A: Yes. For an undermount sink, you use silicone adhesive applied directly to the stone or wood countertop where the sink rim meets it. You also use plumber’s putty or a gasket under the drain strainer basket where it contacts the sink basin itself to seal kitchen sink flange connections.
Q: How long does it take to replace a kitchen sink?
A: For an experienced DIYer replacing a drop-in sink with an existing cutout, the process might take 3 to 5 hours, not including the curing time for the silicone sealant. If you are switching sink styles (like going from drop-in to undermount) or need to modify the countertop cutout for kitchen sink, expect the job to take a full day or potentially two.
Q: What is the difference between plumber’s putty and silicone sealant?
A: Plumber’s putty is a soft, oil-based compound used primarily to seal drain baskets and flanges where they meet the sink basin. It never fully hardens. Silicone sealant is a flexible, waterproof adhesive used to create a strong, durable bond between the sink rim and the countertop surface, preventing water seepage underneath.
Q: Can I reuse my old P-trap when I replace the sink?
A: You can reuse the P-trap if it is in good condition and the new sink drain lines up perfectly with the existing wall pipe. However, if you are switching sink depths or types significantly, or if the old P-trap is corroded or cracked, it is cheap insurance to replace the entire trap assembly when reconnecting the plumbing connections for kitchen sink.