
Yes, you absolutely can change your kitchen sink to use soft water, even if you already have a whole house water softener hookup at sink location or not. This process usually involves setting up a dedicated system for the kitchen sink, such as an under sink water filter for soft water, or rerouting existing softened water lines.
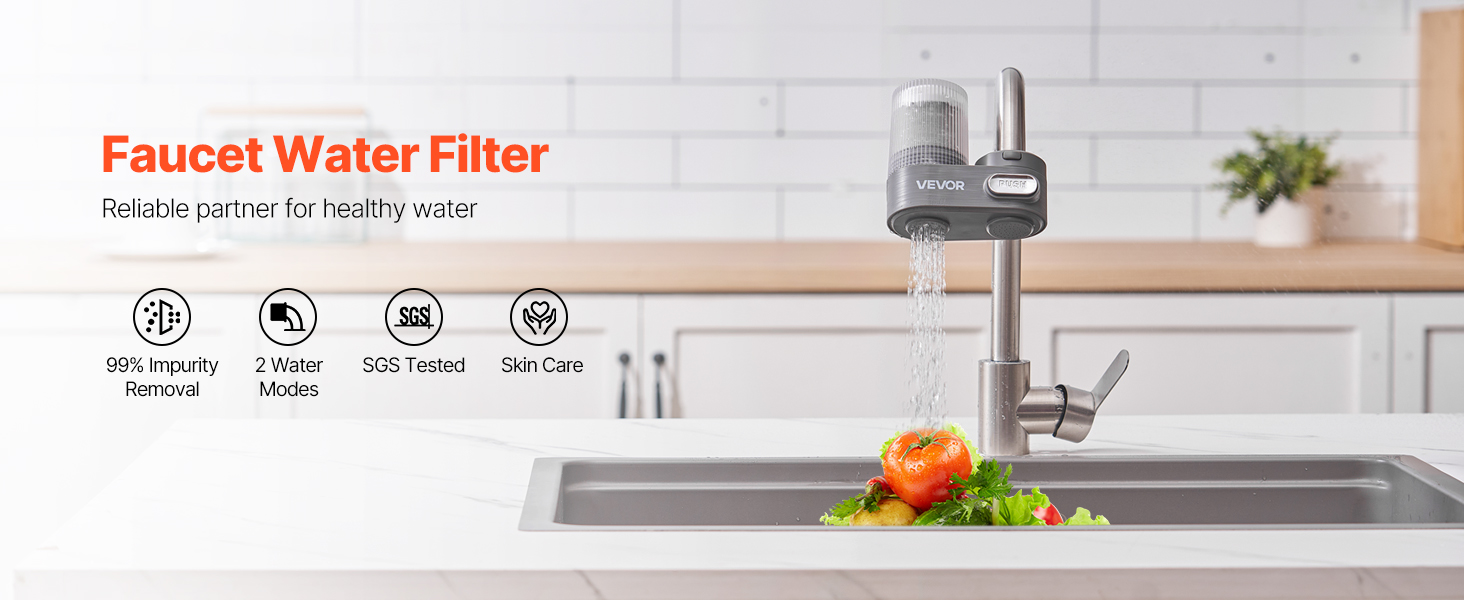
Image Source: d2qc09rl1gfuof.cloudfront.net
Why Treat Water Specifically at the Kitchen Sink?
Many people opt for soft water at the kitchen sink even if they have a whole-house system. Why? Perhaps their existing whole house water softener installation is far from the kitchen, or they want the purest soft water possible for drinking and cooking. Soft water helps keep coffee makers and kettles free of scale. It also makes washing dishes easier. A dedicated soft water fixture for kitchen faucet ensures these benefits without overloading the main softener system.
Deciphering Your Current Water Setup
Before you begin any work, you must know how your current water lines run. This is key for any successful kitchen water softener installation. Look under your kitchen sink cabinet.
Assessing Existing Plumbing
Examine the pipes leading to your sink. You will typically see two main lines: one for hot water and one for cold water.
- Hard Water Source: Where does the water come from right now? Is it running straight from the main supply line?
- Whole House Softener: If you have one, trace its lines. Did it branch off before reaching the kitchen, or does it feed all plumbing?
- Reverse Osmosis (RO) System: Do you already have an RO system? This is important because RO systems often produce very soft water already.
If you already have a whole house system, connecting sink to whole house softener might just mean rerouting the lines after the main unit’s output. If you do not, you will likely install a smaller, dedicated softener just for the kitchen.
Option 1: Installing a Dedicated Under-Sink Softener
This is the most common approach for targeting just the kitchen sink. It is simpler than a full reroute.
Tools and Materials Needed
Gather your gear before starting. This list helps make the job smooth.
- Small, dedicated under-sink water softener unit.
- Appropriate plumbing fittings (PEX, copper, or flexible lines).
- Pipe cutters or tubing cutters.
- Adjustable wrenches and pliers.
- Teflon tape or pipe joint compound.
- Drill and hole saw (if drilling a new line through the cabinet).
- Saddle valve or tee fitting for the cold water line.
- Soap and mineral oil (to ease connections).
Step-by-Step Installation Guide
This section covers the plumbing soft water system kitchen setup process.
Step 1: Shut Off the Water Supply
Safety first! Turn off the main water supply to your house. If you can, just turn off the shut-off valves right under the kitchen sink. Open the faucet to drain any remaining water from the lines.
Step 2: Locate the Cold Water Feed
You need to tap into the cold water line that feeds the faucet. This is usually on the right side under the sink.
- Use your wrenches to disconnect the existing cold water supply line from the angle stop valve (the small valve on the wall).
- If you cannot disconnect, use a saddle valve designed for water lines. Be careful with saddle valves; they can sometimes leak if not installed perfectly. A tee fitting connected after the shut-off valve is often a better, more permanent fix.
Step 3: Insert the Softener Inlet Connection
Your small softener unit will have an inlet port. You need to direct the cold water into this port first.
- If using a tee fitting, attach the connection from the cold water supply line to the softener’s inlet.
- Secure all connections tightly. Use thread sealant tape on all threaded fittings to prevent leaks.
Step 4: Connect the Softener Outlet
The softened water leaves the outlet port of the small softener. This softened water now needs to go to the faucet.
- Attach a new flexible supply line to the softener’s outlet.
- Connect the other end of this new line to the cold water inlet stem on your kitchen faucet.
Step 5: Installing the Drain Line (If Necessary)
Some smaller, regenerating softeners need a drain for brine or regeneration water.
- If your unit requires a drain, follow the manufacturer’s instructions closely.
- This drain line usually connects to the drain pipe beneath the sink, often using a dishwasher drain connection point or a specialized standpipe. Ensure the connection is airtight and follows local codes.
Step 6: Testing for Leaks and Initial Startup
Turn the water supply back on slowly. Check every new connection point carefully for drips or leaks.
- Run the cold water at the faucet. Wait a moment for the small water softener loop for kitchen sink to fill and cycle through the resin tank.
- If you notice drips, turn the water off immediately and tighten the connection gently.
Step 7: Programming and Conditioning
Follow the softener’s manual to set the hardness level and start the initial regeneration cycle. This primes the resin and prepares the water.
Option 2: Installing Dedicated Soft Water Line Kitchen from a Whole House System
If you already have a large whole house water softener installation and want to use that soft water for the kitchen, you must find where to tap into the softened line.
Locating the Soft Water Line
After the main softener unit, the water is soft. You need to find a good spot on this line to divert water to the kitchen specifically. This is the essence of whole house water softener hookup at sink routing if you are adding a new fixture or fixture set.
Step 1: Shut Down the Main Water and Softener
Turn off the main water supply. If your softener has a bypass valve for kitchen sink water softener setup already, put it in bypass mode. If not, shut off the lines going in and out of the main unit. Drain the lines.
Step 2: Installing a Tee Fitting on the Soft Water Line
Find a straight run of pipe after the softener’s output. This is where you will install a tee fitting.
- Cut the pipe cleanly.
- Install the tee fitting. If using copper, soldering might be required. If using PEX or flexible pipe, use appropriate compression fittings.
- One side of the tee will go back to the main house line. The other side will be capped or connected to the house line if you are diverting only the kitchen.
Step 3: Running the New Line to the Kitchen
Run a new dedicated line from this tee fitting directly to the kitchen cabinet area. This line will carry the soft water.
- Use water lines rated for potable water (like PEX). Keep the run as short as possible.
- You may need to drill a small hole through the wall or floor to pass this line cleanly.
Step 4: Converting Kitchen Sink Water Source
Now you must reroute the faucet connections.
- Disconnect the existing cold water line at the faucet stem that comes from the main hard water supply.
- Connect your new dedicated soft water line to the cold water inlet on the faucet.
- You might also want to dedicate the hot line if you want hot soft water (if your water heater is fed by hard water, this dedicated line is crucial).
Step 5: Setting Up the Bypass Valve for Kitchen Sink Water Softener Logic
If you are tapping into a whole-house system, you must ensure the kitchen sink never accidentally gets fed hard water.
- If you used a tee fitting, the system is now split.
- If the whole house system is used for everything except the kitchen, ensure the main house line continues uninterrupted from the tee, and your new kitchen line branches off.
This method ensures all water going to your soft water fixture for kitchen faucet is already treated.
Advanced Consideration: Using an Under Sink Water Filter for Soft Water in Conjunction with RO
Some homeowners want truly pristine water for drinking and cooking. They might use a small, specialized filter system under the sink that targets specific issues remaining after whole-house softening (like trace minerals or chlorine bypass).
Why Add a Filter to Soft Water?
Even the best softeners might leave behind trace amounts of Total Dissolved Solids (TDS) or chlorine, depending on the source water quality. An RO system is often the next logical step for the best drinking water.
Integrating RO with Soft Water Input
If you are converting kitchen sink water source to soft water, the RO input should now come from the softened line.
- Install the Small Softener (as in Option 1): Ensure the cold water line feeding the RO unit is soft water.
- Tap the Soft Line: Instead of tapping the main cold water line, tap the cold water line after the small softener unit (or after the main softener output if using Option 2).
- Connect to RO Input: Connect this soft water line to the RO system’s input feed valve.
The RO system will then polish the already soft water, providing exceptional purity for consumption.
Special Plumbing Tasks for Soft Water Systems
Regardless of whether you use a small unit or tap the main line, specific plumbing tasks require attention for longevity and safety.
Soldering vs. Compression Fittings
When doing kitchen water softener installation, choosing the right fitting matters.
| Fitting Type | Best Used For | Pros | Cons |
|---|---|---|---|
| Soldered Copper | Permanent, rigid connections (e.g., main lines) | Very durable, long-lasting | Requires heat (torch), skill needed, slow |
| Compression Fittings | Connecting to existing pipe ends | No heat required, easy disassembly | Can loosen over time, needs strong wrenching |
| Push-to-Connect (SharkBite) | Quick connections in accessible areas | Very fast, tool-free locking | More expensive, some plumbers distrust long-term reliability |
For most DIY plumbing soft water system kitchen setups tapping existing lines, high-quality compression fittings or PEX connections are recommended for ease of future maintenance.
Dealing with Hot Water Lines
Do you need soft hot water at the kitchen sink?
- If using a dedicated under-sink softener: You will need two small units, one for the hot line and one for the cold line.
- If tapping a whole house system: The line after the softener output will provide soft hot water if you divert it both to the hot and cold inlets of the faucet. Ensure your water heater is also fed soft water if you want truly soft hot water throughout the house, otherwise, the hot water will still be hard if it bypasses the main softener before reaching the heater.
If you are only focused on the soft water fixture for kitchen faucet for drinking and rinsing, often only the cold line needs to be softened.
Maintaining Your Kitchen Soft Water Setup
A new system requires care to keep working well. This applies to both small units and lines connecting sink to whole house softener.
Salt and Resin Monitoring
If you installed a small tank system:
- Salt Levels: Check the brine tank monthly. Always keep salt above the halfway mark. Use high-quality softener salt blocks or pellets.
- Resin Bed: Small units require periodic manual regeneration based on usage. Follow the manufacturer’s dosing guide precisely.
Backwashing and Flushing (For Larger Systems)
If you installed a water softener loop for kitchen sink by tapping a larger system, maintenance is simpler:
- Ensure the main system is regenerating correctly. If the main system fails, your kitchen water hardness will spike.
- Periodically check the connection points to ensure the soft water line hasn’t corroded or developed scale buildup at the junction points.
Checking for Bypass Leaks
In setups where you are converting kitchen sink water source from hard to soft:
- Occasionally test the kitchen water hardness (using inexpensive test strips) against a hard water source elsewhere in the house. If the kitchen water suddenly matches the hard water test, your dedicated line or bypass valve has failed.
Ensuring Proper Water Flow and Pressure
Adding any device to a water line restricts flow slightly. This is crucial when planning your whole house water softener hookup at sink configuration.
Flow Rate Comparison
| System Type | Typical Flow Restriction | Key Concern |
|---|---|---|
| Small Under-Sink Softener | Moderate (5-10% reduction) | Might affect dishwasher cycles if flow is very low |
| RO System (Post-Softening) | High (RO systems require a slow flow) | Ensure the initial feed water pressure is adequate |
| Simple Line Reroute | Minimal (Only fittings add restriction) | Pressure drop only occurs at the tee connection point |
If you notice poor flow at the faucet after installation, check the inline screens or sediment filters within the new softener unit, as they might be clogged during the initial setup flush.
Finalizing the Installation: Code and Safety
Always check your local plumbing codes before making permanent changes, especially if you are tapping into drain lines or modifying main supply lines.
Securing Connections
Vibration under the sink is common. Make sure all tubing and lines are secured with clamps or straps so they do not rub against pipes or sharp edges, which causes wear and potential leaks over time.
Labeling
Clearly label the new lines or the bypass valve if you installed one. This helps future maintenance workers or yourself quickly identify the soft water line for the kitchen sink. Knowing which line is which is vital for whole house water softener hookup at sink troubleshooting.
Frequently Asked Questions (FAQ)
Can I install a kitchen sink water softener myself?
Yes, installing a small, dedicated under sink water filter for soft water unit is a manageable DIY project. It requires basic plumbing skills, such as cutting pipes and tightening connections. Larger modifications involving tapping main water lines might benefit from a professional plumber.
Will installing a dedicated kitchen softener affect my main whole house system?
If you install a separate, small softener under the sink, it will not affect your main whole house water softener installation performance at all. If you are connecting sink to whole house softener by rerouting, you are simply dedicating a portion of the already softened water supply to the kitchen.
Is it better to use soft water for drinking than hard water?
Most people prefer soft water for drinking because it lacks the mineral taste associated with hardness (calcium and magnesium). It also prevents scale buildup in kettles and coffee makers, leading to better appliance life and cleaner drinks.
What is a bypass valve for a kitchen sink water softener?
A bypass valve for kitchen sink water softener allows you to temporarily stop the water flow through the softening unit. This is used when you need to add salt, perform maintenance, or if you want to temporarily use hard water (though this is rare for kitchen setups).
Do I need an entire water softener loop for kitchen sink?
A “loop” implies a dedicated circuit. For a single sink, you usually just need a dedicated supply line, not a complex loop. A loop might be necessary if you were softening water for multiple fixtures post-main softener, like a separate ice maker and dedicated drinking faucet.
How do I know if I have converted my kitchen sink water source correctly?
Test the water. Purchase a simple water hardness test kit. If the water coming from the kitchen cold tap tests near zero grains per gallon (gpg) or below 50 ppm TDS, and water elsewhere in the house is hard, you have successfully installing dedicated soft water line kitchen.