
The quickest way to clear a blocked kitchen sink drain is usually by using a plunger or by attempting to clear the clog with natural sink unclogging methods like baking soda and vinegar, often before moving on to mechanical tools like a drain snake for kitchen sink.
A slow or completely stopped kitchen sink is one of the most common household plumbing nuisances. Grease, food particles, soap scum, and mineral deposits build up over time, creating a stubborn blockage deep within your pipes. Knowing the right steps to take can save you time, money, and a lot of frustration. This guide breaks down everything you need to know about kitchen sink drain cleaning, from simple home fixes to advanced solutions for resolving kitchen sink blockage.
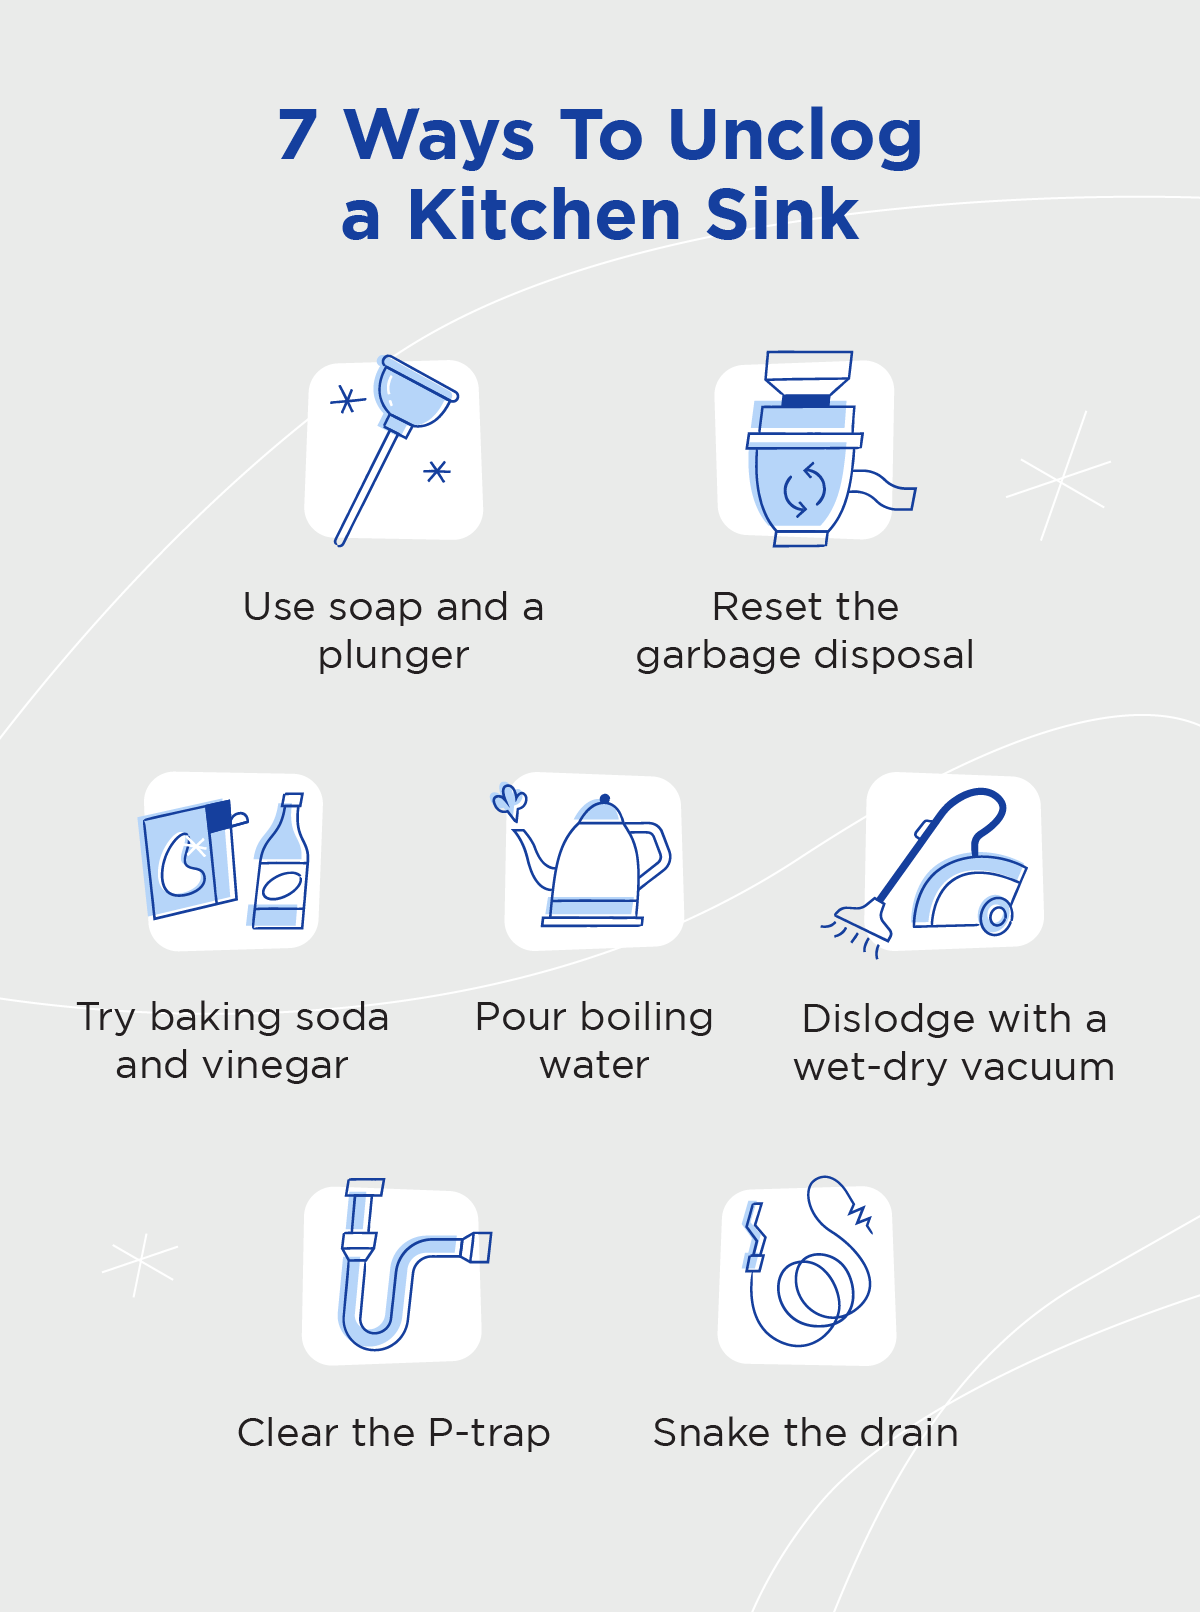
Image Source: www.mrrooter.com
Recognizing the Signs of a Blockage
Before you start plunging, it helps to know what you are dealing with. A sink doesn’t usually go from free-flowing to completely stopped overnight.
Slow Draining vs. Complete Clog
How to unclog a slow drain often requires less drastic measures than dealing with a full stop.
- Slow Drain: Water takes several seconds to disappear down the drain. This often means a partial buildup of grease or food sludge.
- Gurgling Noises: Air bubbles are trapped behind a partial clog, forcing air back up the pipe when water tries to flow.
- Standing Water: Water sits in the basin, refusing to drain at all. This indicates a severe blockage.
- Smells: Decaying organic matter trapped in the pipe can cause foul odors.
If you have a double-basin sink, a blockage in one side that affects the other side is a clear sign the problem is located in the main P-trap or further down the line.
Immediate Steps: Safety First
Before trying any clogged kitchen sink remedies, you must prioritize safety, especially if you suspect old pipes or are considering strong chemicals.
Assess the Situation
- Stop Using the Sink: Do not run any more water down the drain.
- Check the Disposal (If Applicable): If you have a garbage disposal clogged sink, turn it off immediately. Never put your hand down a running disposal.
- Ventilation: If you plan to use any commercial products, open a window or turn on the exhaust fan.
Simple Solutions: Natural and Non-Invasive Clogs Removal
For minor issues, start with the gentlest methods. These solutions are better for your pipes, septic systems, and the environment. Many people find success using natural sink unclogging methods first.
Boiling Water Flush
Boiling water can melt solidified grease and soap scum that clings to pipe walls. This works best for grease clogs, not solid food blockages.
- Heat a large kettle full of water to a rolling boil.
- Carefully pour the hot water slowly down the drain opening in two or three stages, allowing the water a few seconds to work between pours.
- Caution: Do not use boiling water if you suspect your drain lines are connected with PVC pipes that are old or fragile, as extreme heat can sometimes damage them.
The Power of Baking Soda and Vinegar
The reaction between baking soda and vinegar sink treatment creates pressure and foam that can help break up light debris. This is a classic, safe approach.
- Pour about one cup of dry baking soda directly down the drain.
- Follow it immediately with one cup of white distilled vinegar.
- Cover the drain opening with a stopper or wet rag to force the fizzing action downward into the pipes.
- Let it sit for 30 minutes to an hour.
- Flush thoroughly with very hot (but not boiling) water.
This method is excellent for maintenance and clearing mild slime buildup.
Mechanical Approaches: Applying Force
If natural methods fail, it’s time to use physical force to push or pull the obstruction out. This often involves plunging a kitchen sink or using specialized tools.
Plunging a Kitchen Sink
The suction and pressure created by a sink plunger are very effective for dislodging kitchen debris. Use the right tool—a cup plunger is usually best for sinks.
Steps for Effective Plunging:
- Create a Seal: If you have a double sink, block the second drain opening tightly with a wet rag or stopper. This is crucial to direct the pressure correctly.
- Water Level: Add enough water to the sink basin to cover the rubber cup of the plunger completely.
- Positioning: Place the plunger firmly over the clogged drain, ensuring a tight seal around the edges.
- Action: Give several strong, quick up-and-down strokes without breaking the seal. Focus on the downward thrust, which pushes the clog, and the upward pull, which draws it back slightly to loosen it.
- Check: Remove the plunger quickly after several repetitions. If the water drains, run hot water to clear the rest of the debris. Repeat if necessary.
Manual Removal from the P-Trap
The P-trap is the U-shaped pipe directly beneath your sink. It is designed to hold water to block sewer gases, but it is also where most heavy debris settles. Accessing and cleaning this section is key to resolving kitchen sink blockage caused by heavy food scraps or grease deposits.
Procedure for P-Trap Cleaning:
- Preparation: Place a large bucket or basin directly under the P-trap to catch water and sludge. Wear gloves.
- Loosening Connections: The P-trap is usually held together by large slip nuts. Use channel-lock pliers if they are too tight to turn by hand, but be gentle to avoid cracking the plastic or corroding metal fittings.
- Removal: Unscrew the nuts on both sides of the U-bend and carefully remove the section.
- Cleaning: Empty the contents into the bucket. Use an old brush or wire coat hanger to scrape out any stuck grime inside the pipe section.
- Reassembly: Put the P-trap back in place, hand-tightening the nuts first, then giving a slight quarter-turn with pliers.
- Testing: Run a small amount of water first, checking carefully for leaks at the joints before running a full stream.
Utilizing Drain Snakes and Augers
When the clog is past the P-trap, you need a tool designed to reach deeper: a drain snake, also known as a plumber’s auger. A good drain snake for kitchen sink work is typically a smaller, flexible cable.
How to Use a Drain Snake
Using a snake correctly prevents you from pushing the blockage further down the line.
- Access Point: For kitchen sinks, it is often easiest to feed the snake down through the pipe opening after removing the P-trap.
- Insertion: Gently feed the snake cable into the pipe leading away from the sink (the trap arm). Avoid forcing it.
- Feeling the Clog: When you feel resistance, you have likely met the clog.
- Breaking Up or Hooking: Turn the handle of the snake clockwise. The goal is either to break the clog into smaller pieces or to hook the debris so you can pull it back out.
- Retrieval: Slowly pull the snake back out. You might retrieve a nasty wad of grease, hair (if the sink is also used for shaving), or food matter.
- Flushing: Once the obstruction is removed, run hot water for several minutes to wash away any remaining residue.
If you own a disposal, ensure it is completely off and unplugged before snaking the drain, as accidental contact with a rotating blade is extremely dangerous.
Dealing with Garbage Disposal Issues
A garbage disposal clogged sink scenario requires a different initial approach, as the issue often lies within the disposal unit itself, not the main drain line.
Troubleshooting a Jammed Disposal
If the disposal hums but doesn’t spin, it is jammed.
- Power Off: Turn off the wall switch. For extra safety, unplug the unit under the sink or flip the circuit breaker that controls it.
- Manual Turn: Look underneath the disposal unit (usually near the bottom center). You will see a small hexagonal hole. Insert the Allen wrench (often supplied with the disposal) into this hole.
- Crank: Turn the wrench back and forth several times to manually rotate the blades and free the object jamming them (often a piece of bone, hard fruit pit, or silverware).
- Check for Power: Plug it back in or flip the breaker. Run cold water.
- Reset Button: If it still won’t start, look for a small red reset button on the bottom of the unit. Press it firmly. If it trips again immediately, the jam is severe, and you need to repeat Step 3.
If the disposal is clear but the water still won’t drain, the clog is likely right where the disposal drains into the main pipe—use a small drain snake or check the P-trap blockage points mentioned above.
Chemical Solutions: Use with Caution
When natural and mechanical efforts fail, some homeowners turn to chemical drain cleaners kitchen use. These products use powerful acids or lye (sodium hydroxide) to dissolve organic matter.
Risks Associated with Chemical Cleaners
It is vital to understand the severe drawbacks of these products:
- Pipe Damage: Harsh chemicals can corrode older metal pipes and weaken PVC joints over time, leading to expensive leaks.
- Safety Hazard: If the chemical cleaner fails to clear the clog, you are left with standing water filled with caustic chemicals. The next step (like plunging or snaking) becomes incredibly dangerous for you or a plumber.
- Ineffectiveness on Solids: They work by dissolving soft materials (grease, hair). They cannot dissolve hard objects like bottle caps, foreign items, or large clumps of rice or potato.
If you choose to use a chemical solution:
- Follow the label directions precisely.
- Ensure excellent ventilation.
- Never mix different chemical cleaners, as this can cause toxic gas release.
- If the chemical fails to clear the clog, do not follow up immediately with plunging or snaking. Instead, try a thorough rinse with plain water (if safe according to the product instructions) or call a professional.
Table 1: Comparison of Clog Removal Methods
| Method | Best For | Speed | Pipe Safety | Effort Level |
|---|---|---|---|---|
| Boiling Water | Grease/Soap Scum | Fast | High | Low |
| Baking Soda & Vinegar | Light Buildup | Slow (30+ min) | Very High | Low |
| Plunger | Moderate Blockages | Fast | High | Medium |
| P-Trap Cleaning | Heavy Debris | Medium | High (Requires skill) | High |
| Drain Snake | Deep Clogs | Medium | Medium | High |
| Chemical Cleaners | Severe Organic Clogs | Fast | Low (Risk of damage) | Low |
Deep Dive: Fathoming Drain Line Architecture
To effectively clear a clog, knowing where the blockage is located helps you choose the right tool. Your kitchen sink drain path looks like this:
- Fixture Drain: The opening in your sink basin.
- Tailpiece: The straight pipe leading down from the sink flange.
- P-Trap: The curved section designed to hold water.
- Trap Arm: The horizontal pipe section leading from the trap toward the main drain line.
- Branch Drain: The main line where several fixtures (like the sink and dishwasher) connect.
- Main Sewer Line: The largest pipe leading out of your home.
If your bathtub or toilet is also draining slowly, the clog is almost certainly in the Branch Drain or Main Sewer Line, requiring professional intervention with heavy-duty equipment. If only the kitchen sink is affected, the blockage is confined to points 1 through 4.
When to Call a Professional Plumber
Knowing when to stop DIY efforts is just as important as knowing how to start them. You should call a licensed plumber if:
- You suspect the clog is far down the main line (other fixtures are affected).
- You have used a snake, and it won’t go past a certain point, suggesting a severe obstruction or break.
- You have tried multiple methods, and the sink remains completely stopped.
- You are uncomfortable removing the P-trap or using chemical products safely.
- You see signs of water leaking or sewage backing up into other fixtures.
Professional plumbers have motorized drain augers, hydro-jetting equipment, and inspection cameras, allowing for efficient kitchen sink drain cleaning without guesswork.
Preventing Future Clogs: Maintenance is Key
The best way to deal with a clogged sink is to prevent it from happening in the first place. Regular maintenance is essential for keeping your drains flowing freely.
Daily Habits for Clear Drains
- Scrape Plates: Always scrape food scraps into the trash or compost bin before rinsing dishes. Never pour grease, oil, or fat down the drain, even small amounts.
- Cool Grease: Let cooking oils and bacon fat solidify completely in a separate container before throwing them in the trash.
- Use a Strainer: Invest in a fine-mesh sink strainer to catch small food particles.
Weekly and Monthly Maintenance Routines
Regular preventative care helps stop minor buildup from becoming a major problem.
- Hot Water Flush (Weekly): Run very hot tap water for several minutes after doing the dishes to wash away residual grease coating the pipes.
- Natural Treatment (Monthly): Perform the baking soda and vinegar sink treatment once a month to keep pipes clean and odor-free.
- Enzyme Drain Cleaners: Consider using commercial enzyme-based cleaners monthly. These products use natural bacteria to “eat away” organic debris slowly. They are non-corrosive and safe for all pipes, though they take longer to work than chemicals.
By implementing these preventive steps, you drastically reduce the need to employ aggressive clogged kitchen sink remedies or worry about how to unclog a slow drain frequently.
FAQ: Kitchen Sink Clog Troubles
Q: Can I pour bleach down my kitchen sink drain?
A: No. Pouring bleach down a clogged drain is generally not recommended. Bleach is highly corrosive and can damage pipes, especially if it mixes with other cleaners. Furthermore, it is ineffective at dissolving the typical grease and food clogs found in kitchen sinks.
Q: My garbage disposal is clean, but the sink still won’t drain. What is wrong?
A: If the disposal runs fine but the water backs up, the blockage is located immediately after the disposal unit, likely in the P-trap or the branch line connecting it to the main stack. You should proceed with P-trap removal or plunging a kitchen sink.
Q: How long should I wait before calling a plumber for a clogged kitchen sink?
A: If natural methods (boiling water, baking soda/vinegar) fail, and you are uncomfortable using a drain snake for kitchen sink, wait until you have attempted simple mechanical clearing (plunger or P-trap inspection). If the sink is completely blocked after these two stages, call a professional.
Q: Are drain snakes safe for all pipes?
A: Most modern drain snakes are safe for PVC pipes. However, forcing a snake aggressively, especially older, stiff, or poorly maintained metal cables, can scratch plastic or puncture weak joints. Always use slow, steady pressure when snaking.
Q: What is the main cause of a slow-moving kitchen drain?
A: The number one culprit is solidified cooking grease mixed with soap scum and fine food particles, which sticks to the interior walls of the pipe, narrowing the pathway until you experience how to unclog a slow drain situation.